
The Best GTA 6 Settings for PS5, PS5 Pro, Xbox and Controller: Aim Assist, HDR and Haptics Explained
Grand Theft Auto VI officially launches on November 19 for PS5 and Xbox Series X|S, and with the game already unlocking in the earliest time zones, the first thing many of you will see is a settings menu. Rockstar has packed in more accessibility options than in any of its previous games, but there is no graphics mode switch to hide behind, so the right console, TV and controller setup matters more than usual. This guide covers the best GTA 6 settings for PS5, PS5 Pro and Xbox Series X|S, the best controller and aim settings, and the DualSense options worth touching before you head into Leonida. It reflects the launch version, so expect a few things to change with future patches.
GTA 6 Performance on PS5, PS5 Pro and Xbox: What You Can and Can’t Change
Before you start hunting for a Performance Mode, here is what Rockstar confirmed in its pre-load announcement on November 10:
- 30 FPS on every console: GTA 6 targets 30 frames per second on PS5, PS5 Pro, Xbox Series X and Xbox Series S. Rockstar says it chose this to keep the density and visual fidelity of Leonida intact, and there is no 60 FPS or performance mode at launch.
- PS5 Pro: you get improved clarity through PlayStation Spectral Super Resolution (PSSR) and ray-traced shadows that are only available on PS5 Pro. The frame rate target stays the same, so the Pro upgrade is about image quality, not smoothness.
- PS5 features: high-fidelity haptic feedback on the DualSense, improved spatial audio for Tempest 3D Audio and faster loading.
- Xbox Cloud Gaming: GTA 6 also streams on Xbox Series X|S and Xbox One through Xbox Cloud Gaming, using Xbox Series S graphics settings. Remote Play is supported on PlayStation and Xbox.
Early reviews describe the frame rate as stable overall, especially on PS5 Pro, though at least one review noticed drops in the busiest streets of Vice City. The important takeaway for your settings: system options like the PS5’s Performance Mode preset won’t unlock extra frames here, because the game has no mode to switch to. Your best gains come from a properly set up TV, HDR and controller. For the full PS5 Pro background, read our GTA 6 PS5 Pro explainer.
Best PS5 and PS5 Pro System Settings for GTA 6
These settings live in your console menu, not in the game, and they’re worth a two-minute check before your first session:
- HDR: go to Settings, Screen and Video, Video Output and set HDR to On When Supported. Then run Adjust HDR in the same menu, so highlights like neon signs and sunsets over Vice City don’t blow out.
- Resolution: leave it on Automatic, so your PS5 outputs the highest resolution your TV supports. On PS5 Pro, a 4K TV is where the sharper PSSR image should stand out the most.
- VRR and 120Hz Output: you can leave both on Automatic, they don’t hurt, but don’t expect them to raise GTA 6 above its 30 FPS target.
- Game Presets: under Saved Data and Game/App Settings, the Performance Mode or Resolution Mode preset only applies to games with selectable modes. GTA 6 has none, so this setting makes no difference here.
- 3D Audio: if you play with headphones, turn on Enable 3D Audio under Settings, Sound, 3D Audio (Headphones) and adjust the profile. Rockstar says it improved the game’s spatial audio for Tempest 3D Audio, so this is one of the most noticeable upgrades you can switch on.
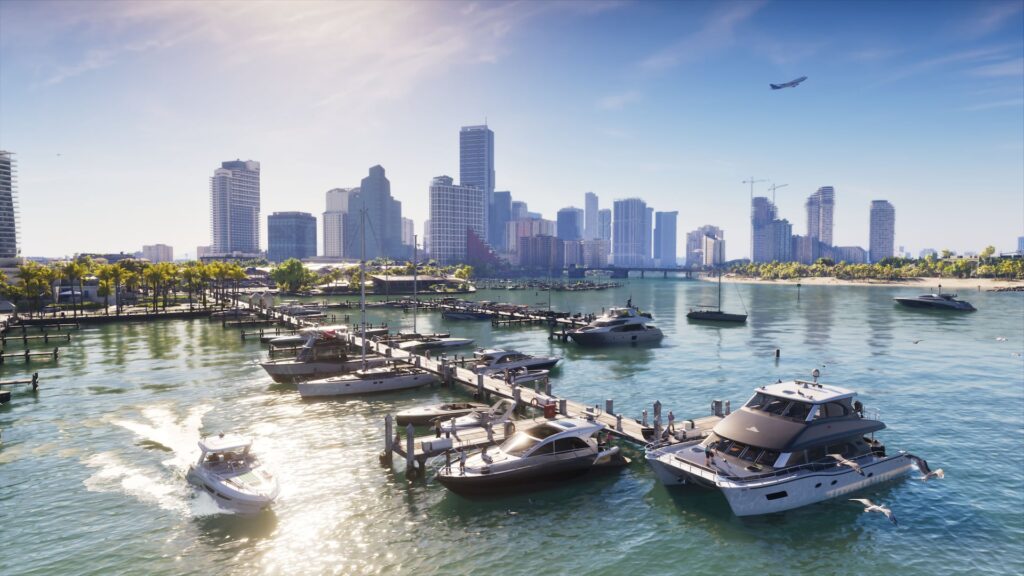
Bright skylines like this are where a properly calibrated HDR setup pays off on every console.
Best Xbox Series X|S Settings for GTA 6
- Video mode: under Settings, General, TV and display options, pick 4K UHD if your TV supports it and make sure HDR10 is allowed in Video modes.
- HDR calibration: in the same menu, run Calibrate HDR for games. It only takes a minute and keeps bright and dark scenes balanced.
- Auto Low-Latency Mode: allow it in Video modes, so your TV switches into its game mode automatically.
- Headset audio: under Settings, General, Volume and audio output, choose a headset format such as Windows Sonic, or Dolby Atmos and DTS Headphone:X if you own the license for them.
- Cloud Gaming and Xbox One: streaming runs at Series S graphics settings, and Rockstar notes that your connection can affect performance. Use a wired connection or a strong 5GHz Wi-Fi signal if you can. We covered the launch deal in our GTA 6 Xbox Cloud Gaming article.
On both PS5 and Xbox, set your TV to Game Mode and switch off motion smoothing. That cuts input lag far more than any in-game option, and it matters a lot in a 30 FPS game where every frame of delay counts.
Best GTA 6 Controller and Aim Settings
The aim options sit in the pause menu under Settings, Gameplay, in the Combat section. GTA 6 doesn’t have a classic difficulty slider, so these options effectively decide how hard gunfights feel:
- Targeting: you can choose between Lock-On, Partial and Free Aim. Partial is the default and gives you only light help, while Free Aim removes targeting help, though Shooting Assist still works unless you turn it off separately. We’d stay on Partial for your first hours, it’s a good middle ground.
- Aim Assist Strength: a slider that controls how sticky your reticle is. If shootouts feel frustrating, raise it a few steps before you switch to full Lock-On.
- Shooting Assist and Drive-By Assist: keep both on if you mainly want to enjoy the story, turn them off if you want gunfights and drive-bys to rely on your own aim.
- Quick Draw: leave it on. It’s useful for every playstyle, including Free Aim.
- Lock-On Time and Lock-On Target Switch: only relevant if you use Lock-On. A longer lock-on time and target switching on make big shootouts much more forgiving.
- Reticle: you’ll find the reticle shape in the UI tab, if you want a cleaner or more immersive screen.
Our quick presets: for a relaxed story run, use Lock-On or Partial with a higher Aim Assist Strength and both assists on. For a more realistic feel, choose Free Aim, set Aim Assist Strength to 0, turn off Shooting Assist and Drive-By Assist, and keep Quick Draw on.
Early menu walkthroughs also show a dead zone slider for each stick, Look and Aim Acceleration sliders and an Aim Response Curve with several options. As a rule, lower the aim dead zone step by step until the camera starts to drift on its own, then go one step back up. Change one setting at a time and test it in an open-world shootout, otherwise you’ll never know which change actually helped.
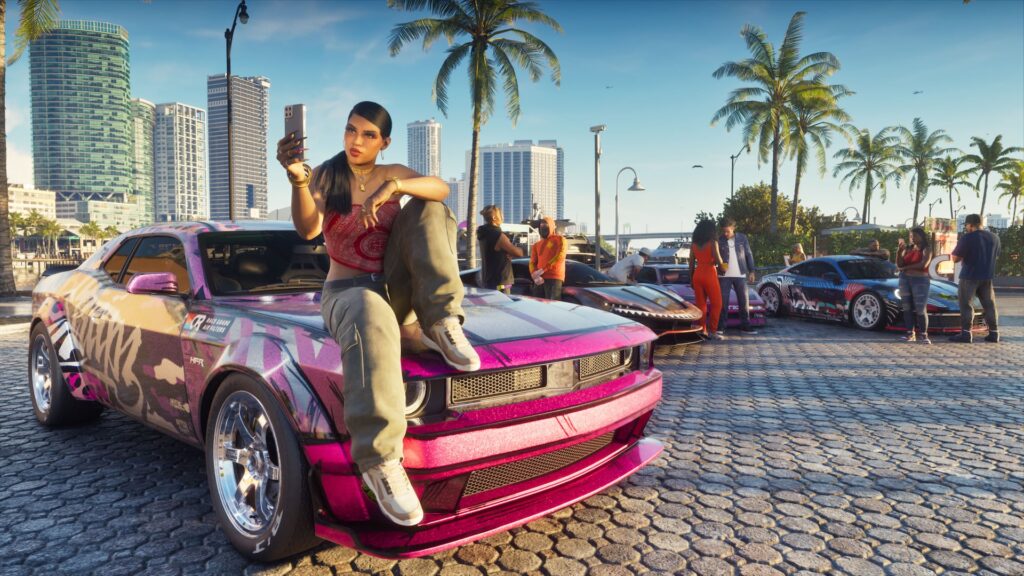
Driving and shooting want different stick setups, so tune your dead zones for aiming first.
Best DualSense Settings: Haptics, Adaptive Triggers and Vibration
According to Rockstar, the DualSense haptic feedback is fully integrated across the game and can be adjusted in GTA 6’s accessibility settings. We’d keep it on, since it adds a lot to driving and gunplay. On the console side, you’ll find two more sliders under Settings, Accessories, Controllers (General):
- Vibration Intensity: Strong or Medium is fine for most players. Lower it if long drives start to feel tiring.
- Trigger Effect Intensity: if the resistance slows you down in longer shootouts, try Medium or Weak before you turn it off completely. Both effects also cost battery, so lower them if your controller runs out too quickly.
Xbox players can adjust vibration through the Xbox Accessories app. If you picked up one of the limited GTA VI DualSense controllers, read about how fast they sold out at pre-order.
HUD, Camera and Accessibility Settings Worth Changing
Reviewers point out that many useful options are spread across different menu tabs instead of sitting in one place, so it’s worth taking a full tour once. These are the ones we’d look at first:
- Minimap: the default setting fades parts of the HUD out when you don’t need them. Classic keeps the minimap on screen all the time, and Compass replaces it with a simple direction bar. We recommend Classic for your first playthrough.
- Cinematic Crash Camera: turn it off if you’d rather keep control during chases than watch slow-motion crashes.
- Default Movement Speed: choose the walking pace your character uses by default. A faster pace saves time when you explore on foot.
- Motion Blur: lower it or turn it down to zero if you get motion sick or want a sharper image in motion.
- Input assists: options like Tap Assist, Hold Assist and switching holds to toggles take a lot of strain off your hands over a long story. Auto Drive is also there for longer trips.
- Subtitles and text size: you can make subtitles bigger, add a background and increase the UI text size, which helps a lot on large TVs viewed from the couch.
- Streamer Mode: switch it on before you stream or record, since it disables copyrighted music.
Our Quick Verdict: The Best GTA 6 Settings
GTA 6 runs at 30 FPS on every console, so forget about a performance mode and focus on what you can control. Calibrate HDR, put your TV in Game Mode with motion smoothing off, and turn on 3D audio if you play with headphones. PS5 Pro owners automatically get PSSR and ray-traced shadows, no setting needed. On controller, start with Partial targeting, adjust Aim Assist Strength to your taste, keep Quick Draw on and lower your aim dead zone as far as your stick allows. Finish with Classic minimap, the input assists you like and Streamer Mode if you create content. Rockstar will keep updating the game after launch, so some options may change. Looking for codes instead? See every known GTA 6 cheat code. Want to see more of Leonida first? Check out the official GTA 6 launch gallery.
Keep the adventure going! Check out more Gaming Guides on Gamersuniverse.
Picture Source: Rockstar Games

Pingback: GTA 6 Vintage Vice City Pack: How to Claim It, Deadline
Pingback: GTA 6 Cheats: All Known Codes for PS5 and Xbox