
How to Summon the Shrouded Queen in Don’t Starve Together: Every Ritual Step, Blighted Boss and Reward
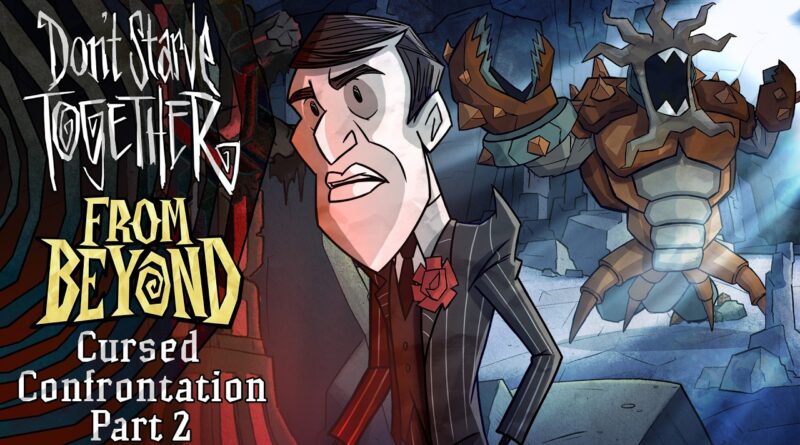
Klei’s Cursed Confrontation Part 2 update finally closed the From Beyond story arc in Don’t Starve Together, and it ends with a brand new final boss. If you want to summon the Shrouded Queen, you need much more than a good weapon: the fight sits at the end of a long ritual that sends you through the Sanctum, the Ruins and three corrupted boss fights in the Caves. This guide walks you through every step in order, from the Keystone to the three Blighted items, explains each phase of the Shrouded Queen and lists the rewards waiting at the end. It reflects the game after the October 22, 2026 update and Hotfix 760178 from October 26.
Spoiler note: this guide names the bosses and rewards at the end of the From Beyond arc.
How to Summon the Shrouded Queen at a Glance
- Defeat the Ancient Fuelweaver and give 5 Dreadstone to the Beckoning Hand, so Charlie repairs the Ancient Gateway and Shadow Rifts begin.
- Take the Keystone from the Reliquary in the Sanctum and give it to the Beckoning Hand at the Ancient Gateway to start the ritual.
- Get a Possessed Shadow Atrium from an Ornery Chest.
- Give it to an Odd Skeleton elsewhere in the Caves to raise a passive Ancient Fuelweaver.
- Use him to corrupt the Hound Batilisk, the Rock Master and the Great Depths Worm, then kill their Blighted forms for the Blighted Larynx, Blighted Claw and Blighted Guts.
- Place all three items in the circles at the Ancient Gateway to start the Shrouded Queen fight.
Step 1: Repair the Ancient Gateway
The whole Shadow arc starts in the Atrium. Once you defeat the Ancient Fuelweaver, a Beckoning Hand appears at the Ancient Gateway and asks for 5 Dreadstone. Hand them over and Charlie shows up to repair the Gateway, which also turns on the Shadow Rift cycle in your world. If you already did this during earlier From Beyond updates, you can skip straight to the next step.
Keep the Ancient Key close as well. The Gateway is activated with it, and the community wiki notes that it should sit in the Gateway’s socket when you start the final ritual.
Step 2: Bring the Keystone to the Ancient Gateway
The Keystone is the reward from the Reliquary in the Key Room of the Sanctum, the area added with Cursed Confrontation Part 1. Carry it back to the Atrium, where a second Beckoning Hand waits at the repaired Gateway. Giving it the Keystone is what Klei describes as the start of the Part 2 quest line.
- Stairs warning: the Keystone can’t travel between the surface and the Caves. If you try, it stays behind at the Stairs.
- Finding it again: with a Thulecite Medallion in your inventory, the Keystone shows up on your map.
Step 3: Get a Possessed Shadow Atrium
For the next part you need a Possessed Shadow Atrium, not the regular Shadow Atrium you used for the first Fuelweaver fight. You create it with an Ornery Chest, the hostile mimic that disguises itself as an Ornate Chest in the Ruins once Shadow Rifts are active.
- Find an Ornery Chest. It looks exactly like a normal Ornate Chest until you open it.
- Put a Shadow Atrium inside before it wakes up, or let the revealed chest eat a Shadow Atrium from the ground.
- Kill the Ornery Chest. It drops the Possessed Shadow Atrium.
- Grab it fast. After a few seconds the atrium starts running away and can no longer be targeted, so the only way to catch it is a Trap. A handy trick is to let the chest swallow a Trap too, which drops right next to the atrium when the chest dies.
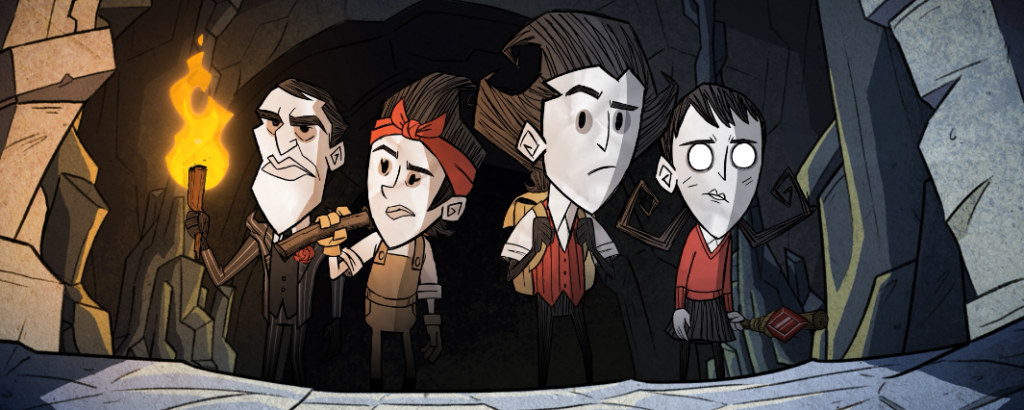
Most of the Shrouded Queen ritual takes place deep in the Caves, so pack plenty of light before you head down.
Step 4: Raise the Ancient Fuelweaver as a Helper
Klei’s patch notes tell you to use the Possessed Atrium to summon the Ancient Fuelweaver outside of the Atrium. In practice, give the Possessed Shadow Atrium to a fully built Odd Skeleton anywhere in the Caves except the one at the Ancient Gateway. Instead of the boss, you get a passive Fuelweaver who wanders around and talks about his past.
- He is not a pet: he destroys objects he walks into, so keep him away from your base.
- Moving him: he follows any player holding a Shadow Thurible, which is how you lead him to your targets.
- Only one at a time: only one Ancient Fuelweaver, boss or helper, can exist in the world at once.
- Getting the atrium back: the helper has 4,000 health. If he dies, he drops the Fossils and the Possessed Shadow Atrium, so you can summon him again.
Step 5: Corrupt the Three Blighted Bosses
Once the ritual has started, the helper Fuelweaver can corrupt three Cave creatures. Bring him close and he briefly holds the target in place before it turns into its Blighted form. Each Blighted boss drops one of the three Atrium Ritual Items, and you need one of each.
- Hound Batilisk → Blighted Hound Batilisk (3,000 health) → Blighted Larynx: the Hound Batilisk lives in the Big Bat Cave in the Tall Stalagmite Terrain and comes out at dusk and night, or when you get too close. A new one returns 10 days after you kill it.
- Rock Master → Blighted Rock Master (5,000 health) → Blighted Claw: the Rock Master leads a Rock Lobster herd in the Rocky Plains. Only one exists in the Caves at a time, and after it dies the game upgrades a sleeping, fully grown Rock Lobster into a new one after 10 to 20 days by default.
- Great Depths Worm → Blighted Great Depths Worm (6,000 health) → Blighted Guts: this one can’t be hunted down. It only replaces a regular Cave worm attack after day 25, starting at a 5% chance that grows by 5% for every wave it misses, up to 50%, and resets once it appears. The Blighted version gets faster at half health and spits out Dread Mites.
All three Blighted bosses have Planar Entity Protection, which cuts down regular physical damage, so bring planar weapons. The Hound Batilisk and Rock Master also drop their own new loot in their normal form, the Bat Hat and the Craggy Carapace, so they are worth farming on their own.
Step 6: Start the Shrouded Queen Fight
With the Blighted Larynx, Blighted Claw and Blighted Guts in your bag, return to the Ancient Gateway and place the items in the three circles around it. Charlie appears, and after a short cutscene everyone in or near the Gateway room is teleported into the Shrouded arena. Make sure your whole group is ready: living players can’t leave the arena until the Shrouded Queen is beaten, and there is no natural light inside.
Shrouded Queen Phases and Attacks
The Shrouded Queen has 18,500 health, a sanity drain of 400 per minute and Planar Entity Protection, and she can’t be frozen, put to sleep or set on fire. Her fight changes as her health drops:
- Phase 1: she chases players with a wide melee swipe that also launches shadow creatures forward.
- Phase 2 (95% health): vines grow from her back and she counterattacks anyone who hits her up close. Up to three hands also start crawling in to put out your light sources. Night Lights and the Queen’s Torch are the only exceptions.
- Phase 3 (85% health): she stops the vine counter, screeches out homing Swarming Horrors and deflects projectiles into new Swarming Horrors. Klei confirmed in its patch notes that these lose their lock on you if you hide in the dark.
- Alternating (75% and below): she switches back to the vine phase, now with moving vines that trap players, and from then on alternates between both behaviors every 10% of health.
- Final phase (around 20% health): Grim Harriers spawn from the arena edges, up to 12 at a time. They walk slowly, then speed up and lunge once they chase you.
Best Gear and Tips for the Shrouded Queen
- Light you can’t lose: a Magiluminescence or an upgraded Enlightened Crown keeps you lit even when the hands put out your fires. Night Lights placed in the arena stay lit as well.
- Sanity: a Void Robe paired with a Miner Hat helps against her sanity aura, and teas like Foliage Tea or Forget-Me-Lots Tea keep you stable.
- Ranged backup: the Gloomerang, Howlitzer or Brightshade Staff (or Walter’s Trusty Slingshot) let you keep up damage when standing next to her is too risky. Keep in mind that she deflects projectiles in her Swarming Horror phase.
- Use the dark: stepping into full darkness for a moment shakes off Swarming Horrors, but only do it with a plan, since darkness is dangerous on its own.
- Brightshade Helm: it protects you if you end up in darkness by accident.
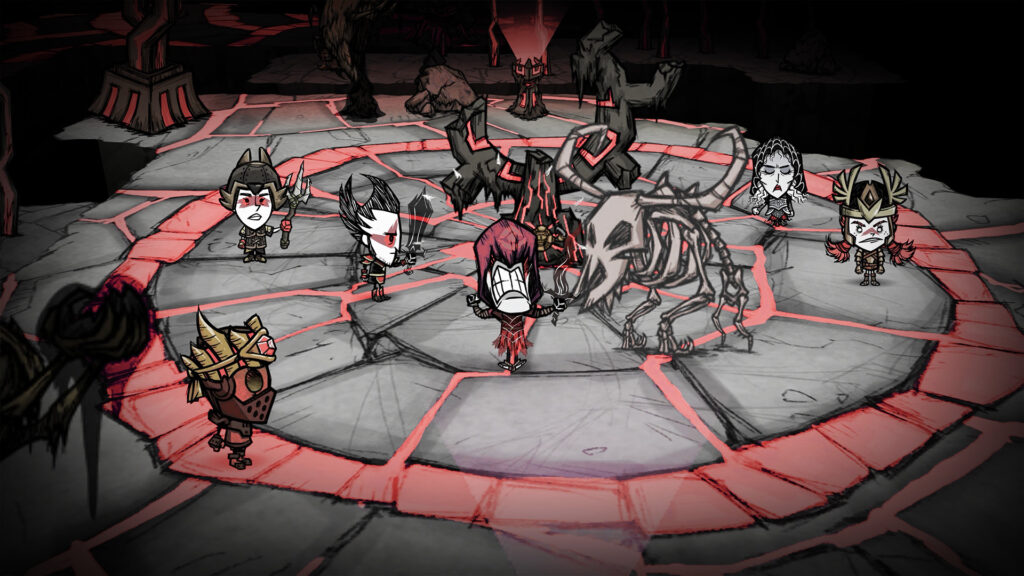
The Shrouded Queen fight is built for teamwork, so gather your group and plan who handles light, sanity and damage.
The Umbral Abomination and Your Rewards
Beating the Shrouded Queen is not the end. Soon after she falls, the Umbral Abomination rises in the middle of the arena with 16,000 health, and the arena grows larger for this second fight. Once it is defeated, an exit opens in the center that takes you back to the Gateway room, where the final loot waits:
- King’s Staff: gives 30% movement speed and takes any of the six basic gems to work like the matching staff. Instead of durability it builds up Corruption. Push it to 100 and the gem gets stuck and every staff action goes on cooldown.
- Queen’s Torch: a light that burns forever without fuel and drives away Shadow Creatures. It can’t set things on fire.
- Queen’s Visage: drops only once per world.
Want another round? According to the community wiki, placing a new set of the three Blighted items at the Gateway brings the Shrouded Queen back after you have beaten her.
Is the Shrouded Queen Worth the Effort?
Yes, if you have followed the Shadow arc this far. The ritual is long, and the Great Depths Worm can make you wait a while, but the King’s Staff and the Queen’s Torch are some of the most useful late game items in Don’t Starve Together, and the fight is a fitting end to From Beyond. Plan the Blighted bosses with your group, keep your light sources safe and you will be ready to summon the Shrouded Queen. Cursed Confrontation Part 2 is out on Steam, Xbox and PlayStation, and Klei says the Nintendo version follows after certification. This guide reflects the game as of October 28, 2026, and values can still change with future hotfixes.
Keep the adventure going! Check out more Gaming Guides on Gamersuniverse.
Picture Source: Klei Entertainment