
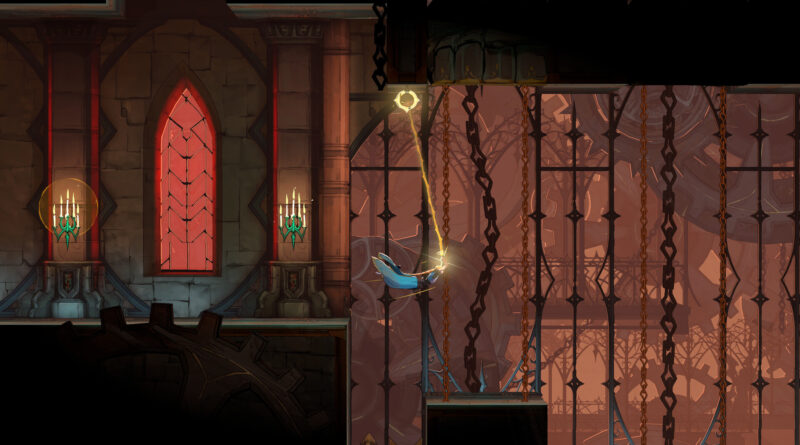
Castlevania: Belmont’s Curse Custom Mode Explained: Every Difficulty Option and What It Means for Achievements
Castlevania: Belmont’s Curse does not ask you to pick Easy, Normal or Hard when you start a new game. Instead, Konami and developer Evil Empire hide every difficulty tweak inside a single menu: Castlevania Belmont’s Curse Custom Mode. It lets you make Rose Belmont hit harder, take less damage, carry more potions or even stop her from dying altogether, and you can change it whenever you like. This guide explains how to turn on Custom Mode, what every option does, which settings we recommend for different players and what we know so far about Custom Mode and achievements.
Does Castlevania: Belmont’s Curse Have Difficulty Settings?
Not in the classic sense. There is no difficulty selection when you start the game, and everyone begins with the same balance that Evil Empire designed. If a boss is walling you, or if the game feels too easy, Custom Mode is the tool the game gives you. It is not a single “easy mode” switch but a set of separate sliders and toggles, so you only change the part of the game that is actually giving you trouble and leave the rest untouched.
How to Turn On Custom Mode in Castlevania: Belmont’s Curse
Konami’s own tip from the demo launch points to the same menu path from both the main menu and the in-game menu:
- Open Settings, either from the title screen or by pausing the game.
- Go to the Gameplay tab.
- Tick Enable “Custom Mode”. It is off by default, and the options below it stay greyed out until you switch it on.
- Adjust the sliders and toggles, then return to the game.
The game shows a warning that these options affect game balance, but it does not stop you. Custom Mode is not locked to a save file at creation either: you can open the menu again in the middle of a run, change values or turn Custom Mode off completely.
Every Custom Mode Option Explained
Custom Mode contains seven options. The ranges below are the values available at launch and could change with future patches:
- Allow respawn in front of Boss doors: Normally, when Rose dies, you start again at the last mirror you activated. With this toggle on, you respawn right outside the boss door instead, which removes the long walk back after every failed attempt.
- Damage dealt: A multiplier for all the damage Rose deals. The default is 1.0, and it goes up to 5.0. You can also lower it to 0.5 if you want fights to last longer.
- Maximum number of potions: How many healing potions Rose can carry at once. The default is 3, and you can raise it to 6 or lower it for a tougher run.
- Prevent death: A toggle that keeps Rose alive no matter how much damage she takes. When her health runs out, she simply keeps fighting.
- Damage received from enemies: A multiplier for damage from enemies and bosses. The default is 1.0, and it can be raised up to 3.0 or reduced all the way down to 0.
- Damage received from traps: The same idea for environmental hazards such as spikes, with the same range as enemy damage.
- Experience gained: A multiplier for the experience Rose earns, which speeds up or slows down leveling. The default is 1.0, and it goes up to 3.0. Setting it lower makes for a low-level challenge.
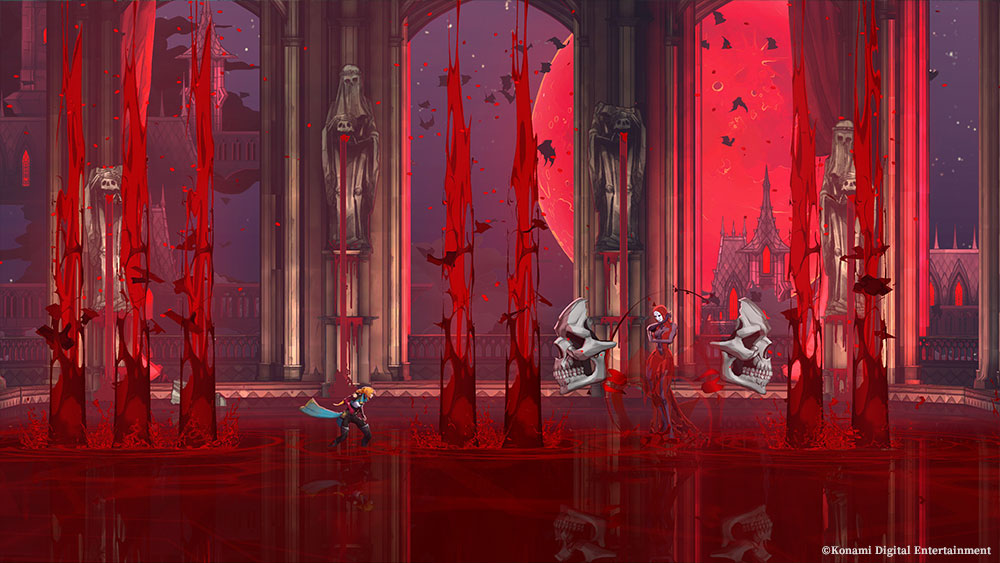
Boss fights are where most players reach for Custom Mode, and the boss door respawn is the gentlest place to start.
Best Custom Mode Settings for Every Type of Player
Because every option is separate, there is no single “right” setup. These are the combinations we would recommend:
- Stuck on one boss: Turn on only Allow respawn in front of Boss doors. The fight stays exactly as designed, but you skip the run back from the last mirror, so you can practice patterns much faster.
- Struggling in general: Add one or two extra potions and lower Damage received from enemies slightly, for example to 0.75. The game still pushes back, but mistakes are less costly.
- Story first: Combine the boss door respawn, more potions, low enemy and trap damage and a higher Experience gained value. Save Prevent death and a maxed Damage dealt value as a last resort, because together they remove almost all of the challenge.
- Veterans who want more: Raise Damage received from enemies and from traps, lower the potion cap and drop Damage dealt or Experience gained below 1.0. Since there is no separate Hard Mode, this is the only way to make Belmont’s Curse tougher.
A smart approach is to change settings only for the section that is giving you trouble and switch them back afterwards. Since Custom Mode can be toggled at any time, a hard boss does not have to define the rest of your playthrough.
Does Custom Mode Disable Achievements and Trophies?
This is the question most completionists ask, and the honest answer is that Konami has not published an official list of achievements affected by Custom Mode. The game has 29 achievements on Steam, and on PS5 the same objectives make up the trophy list, including a Platinum.
According to several guides, the Custom Mode menu also notes that some achievements may become unobtainable while it is enabled, but it does not say which ones. At the same time, launch-week reports from players on Steam and PS5 say achievements, including boss achievements, still unlocked with Custom Mode active, even with very easy settings and Prevent death switched on. Since these are player reports rather than an official statement, and a patch could change the behavior, our advice is simple: if a specific achievement matters to you, turn Custom Mode off before you go for it.
Custom Mode is especially interesting for the Dialog Skipper achievement, which asks you to finish the game in less than four hours. Guides say you need to defeat Dracula’s final form within four hours of play time, and players report that reaching the bad ending does not count. If you want to use Custom Mode for this run, higher damage and the boss door respawn can save a lot of time, but given the in-game warning, test it on a separate run if the achievement is important to you.
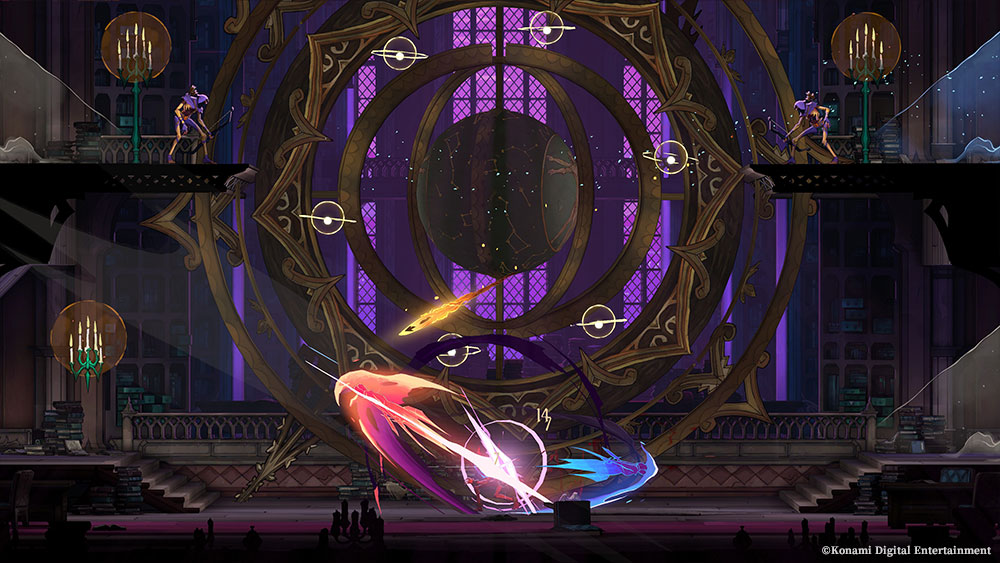
Raising Damage dealt shortens every fight, which helps if you are chasing the under-four-hours achievement.
Custom Mode and Demo Saves
If you played the free demo, which covers the opening chapter, you do not have to start over. According to the official demo page, your demo save transfers to the full game as long as you play on the same platform with the same account, keep the demo save data and update the full game to the latest version. You can then adjust Custom Mode on your imported save just like on a new one.
Castlevania Belmont’s Curse Custom Mode: Our Verdict
Castlevania Belmont’s Curse Custom Mode is a flexible replacement for classic difficulty levels. Newcomers can smooth out the toughest bosses, story fans can relax, and veterans can turn the dial the other way for a harder run. Our tip: start with just the boss door respawn and only add more help if you need it. New to the Belmont family saga? Catch up with our Castlevania timeline explained guide, or learn what defines the genre in What Is a Metroidvania? This guide reflects Castlevania: Belmont’s Curse version 1.1.3 on Steam in October 2026, and option ranges or achievement behavior may change with future patches.
Keep the adventure going! Check out more Gaming Guides on Gamersuniverse.
Picture Source: Konami